Introduction
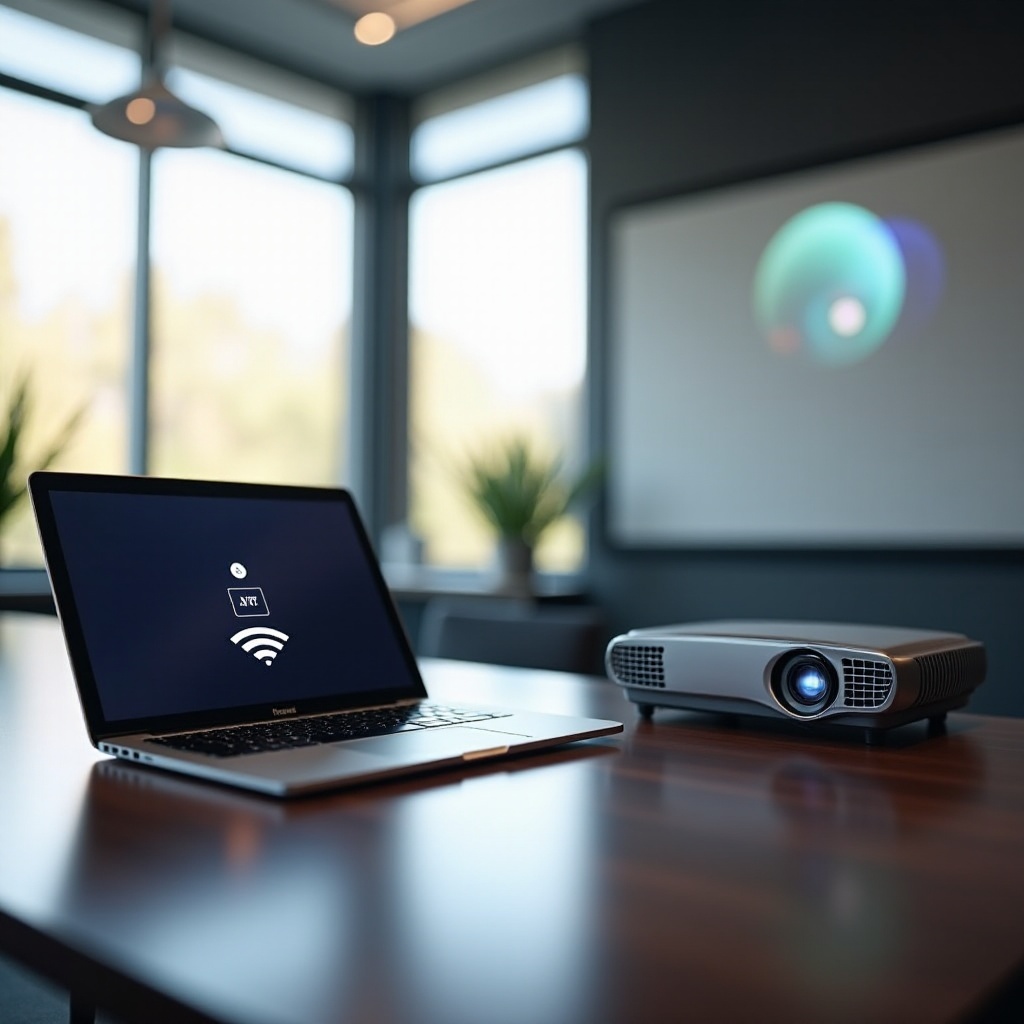
Whether it’s for a presentation, a movie night, or a gaming session, wirelessly connecting your MacBook to a Nebula projector can elevate your experience. Although the process may seem challenging initially, our comprehensive guide will lead you through each step. In this article, we’ll cover the necessary equipment, preparation processes, a detailed step-by-step guide, troubleshooting tips, and additional pointers to enhance your projection experience.
Equipment Needed
Before you begin, ensure you have the following essentials:
- MacBook: Ensure it has a functioning AirPlay feature.
- Nebula Projector: Confirm that your model supports wireless connection and is AirPlay-enabled.
- Stable Wi-Fi Network: A secure and reliable Wi-Fi connection is crucial.
Once you have these items ready, you can proceed with the setup process.
Preparing Your Devices
Ensuring your MacBook and Nebula projector are ready is crucial for a smooth connection.
MacBook Preparation:
- Check for Updates: Ensure your MacBook’s operating system is up-to-date with the latest updates, which may include bug fixes and connectivity enhancements.
- Enable Wi-Fi: Connect your MacBook to the same Wi-Fi network you plan to use with your projector.
Nebula Projector Preparation:
- Power On: Turn on your Nebula projector and navigate to the settings menu.
- Update Firmware: Check for any available firmware updates and install them to enhance performance and compatibility.
- Connect to Wi-Fi: Ensure your Nebula projector is connected to the same Wi-Fi network as your MacBook.
With both devices prepared, you are ready to establish a wireless connection.
Step-by-Step Guide to Connecting Wirelessly
Following these steps will help you establish a wireless connection between your MacBook and Nebula projector.
Enabling AirPlay on the MacBook
- Access System Preferences: Click on the Apple logo in the top left corner and select ‘System Preferences.
- Select Displays: From the System Preferences menu, choose ‘Displays.
- Enable AirPlay:
- Look for the ‘AirPlay Display’ dropdown menu.
- Select your Nebula projector from the list. Your MacBook’s screen should now be mirrored on the projector.
Setting Up the Nebula Projector
- Activate AirPlay on Projector: Use your projector’s remote to navigate to the settings and find the ‘AirPlay’ option. Enable it.
- Confirm Connection: Once AirPlay is enabled, the projector should appear in your MacBook’s AirPlay menu. Confirm the selection.
Congratulations! You have successfully connected your MacBook to the Nebula projector.

Troubleshooting Common Issues
Despite following the steps, issues can still arise. Here’s how to address some common problems.
Connection Problems
- Check Network Stability: Ensure both your devices are on the same Wi-Fi network with a stable connection.
- Restart Devices: Restarting both the MacBook and the projector can often resolve connectivity issues.
- Firewall Settings: Ensure the firewall settings on your MacBook are not blocking the connection.
Lagging or Delay in Projection
- Reduce Interference: Ensure other devices on the network are not consuming large amounts of bandwidth.
- Projector Distance: Reduce the distance between your MacBook and projector to strengthen the signal.
Audio and Video Synchronization
- Check Audio Settings: Ensure the audio output on your MacBook is set to the projector via the ‘Sound’ settings in System Preferences.
- Update Applications: Make sure all applications (e.g., media players) are up to date as outdated apps can cause sync issues.
Enhancing Your Projection Experience
To get the most out of your projection experience, consider these enhancements:
- Adjust Display Settings: Fine-tune brightness, contrast, and other display settings on your Nebula projector for optimal image quality.
- Use Quality Content: Higher resolution content will result in a better viewing experience.
- Sound System: Enhance audio quality by connecting external speakers to the projector if possible.
Additional Tips and Tricks
- Remote Control: Use the projector’s remote app on your smartphone for easier control during presentations.
- Safe Sharing: Use password protection for AirPlay to prevent unauthorized connections.
- Regular Updates: Keep your MacBook and Nebula projector firmware up to date to avoid potential compatibility issues.
Conclusion
Connecting your MacBook to a Nebula projector wirelessly is a straightforward process with the right guidance. By preparing your devices, following the detailed step-by-step instructions, and troubleshooting common issues, you can create an efficient and enjoyable projection experience. Don’t forget to experiment with display and audio settings to optimize your viewing pleasure.
Frequently Asked Questions
Can I connect my MacBook to a Nebula projector without Wi-Fi?
No, a stable Wi-Fi connection is essential for wirelessly connecting your MacBook to a Nebula projector using AirPlay.
How do I update the firmware on my Nebula projector?
Navigate to the settings on your Nebula projector, locate the firmware update option, and follow the on-screen instructions to check and apply updates.
Is it possible to use third-party apps for better connectivity?
Yes, third-party apps like Reflector or AirServer can enhance connectivity and offer additional features beyond the native AirPlay function.