Introduction
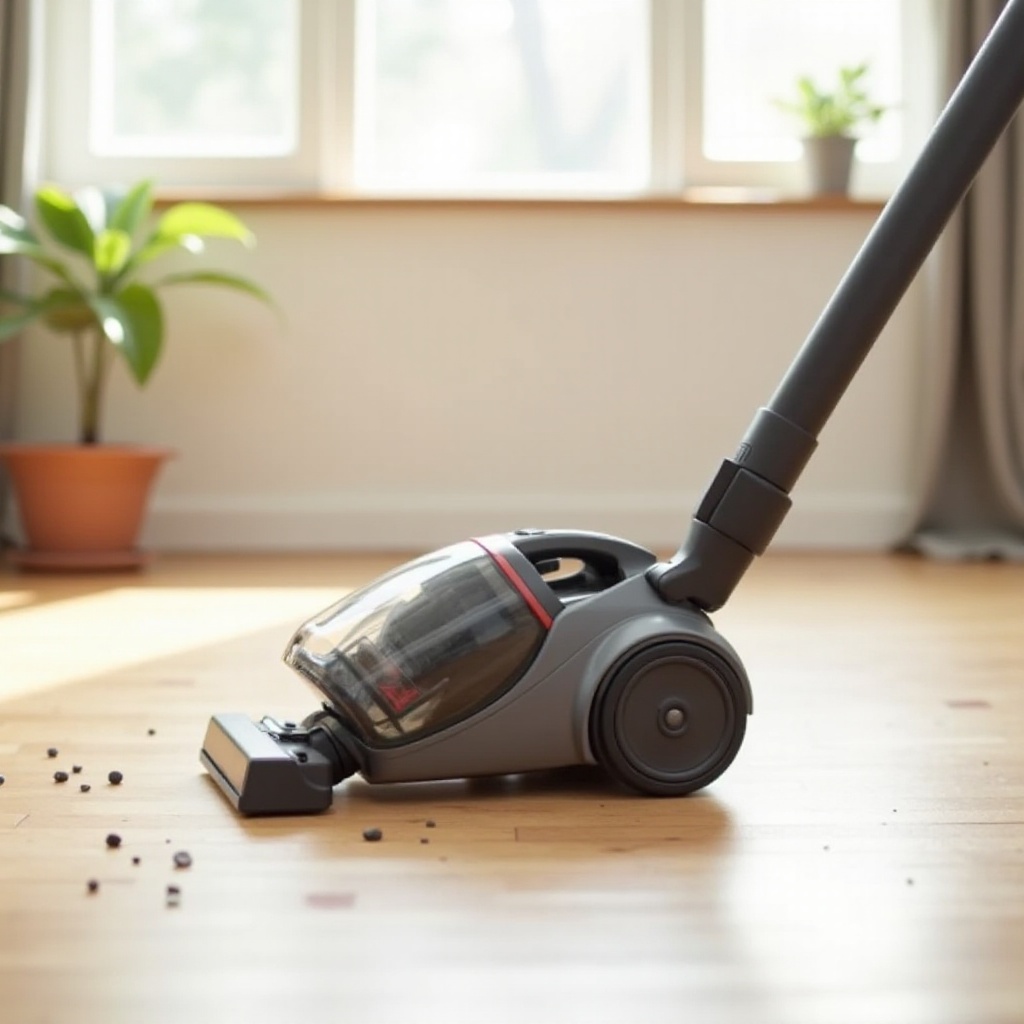
Maintaining a clean home often hinges on the performance of your vacuum cleaner. A clogged vacuum can hinder your cleaning efforts, making the appliance less efficient. Understanding how to unclog a vacuum cleaner not only saves you time and money but also prolongs the life of your device. This guide will help you identify signs of clogs and provide detailed steps to clear them effectively.
Recognizing the Signs of a Clogged Vacuum
A vacuum cleaner’s performance can degrade for several reasons. One common issue is clogging. Being able to recognize this early can prevent further damage.
Reduced Suction Power
If your vacuum cleaner isn’t picking up debris as effectively as it used to, it might be clogged. Reduced suction is a clear sign that air pathways are blocked.
Unusual Noises
Strange noises like rattling, humming, or grinding could indicate a blockage. This can cause parts to misalign or work harder than necessary.
Overheating of the Vacuum
A vacuum overheating and shutting down unexpectedly can be a clue that it’s struggling with airflow. This often happens when the motor has to work harder due to blockages.
Strange Odors
If you smell burning or an unusual odor coming from your vacuum, it might be due to debris stuck in the hose or filters.
Recognizing these signs early can prevent more significant issues. Once a clog is identified, the next step is to prepare for the unclogging process.
Preparing to Unclog Your Vacuum Cleaner
Proper preparation ensures that the unclogging process is efficient and safe.
Safety First: Unplugging the Vacuum
Before you begin any maintenance, always unplug the vacuum cleaner. This prevents electric shock and protects the device from accidental damage.
Gathering Necessary Tools and Materials
You’ll need a few tools to unclog your vacuum:
– A broomstick or plumbing snake
– Scissors
– A damp cloth
– Replacement filters (if necessary)
– Screwdriver (depending on your vacuum model)
Identifying the Vacuum Type
Different vacuums have various configurations and parts. Know whether you have an upright, canister, or handheld vacuum. This knowledge will help you locate and access the areas that need unclogging.
Prepared with these tools and safety measures, you can now proceed to the unclogging process.
Unclogging the Hose
The vacuum hose is a common place for clogs to form due to its narrow passageways.
Detaching the Hose
- Remove the hose from the vacuum unit. This might involve unscrewing some parts or simply detaching it, depending on your model.
Using a Broomstick or Plumbing Snake
- Carefully insert a broomstick or plumbing snake into the hose to push out any debris.
- Pull the broomstick or snake out to remove the loosened debris.
Cleaning with a Damp Cloth
- Wipe the inside of the hose with a damp cloth to remove any remaining dirt or dust.
- Let the hose dry completely before reattaching it to the vacuum cleaner.
With the hose clear, you can move on to other parts that might be contributing to the clogging.
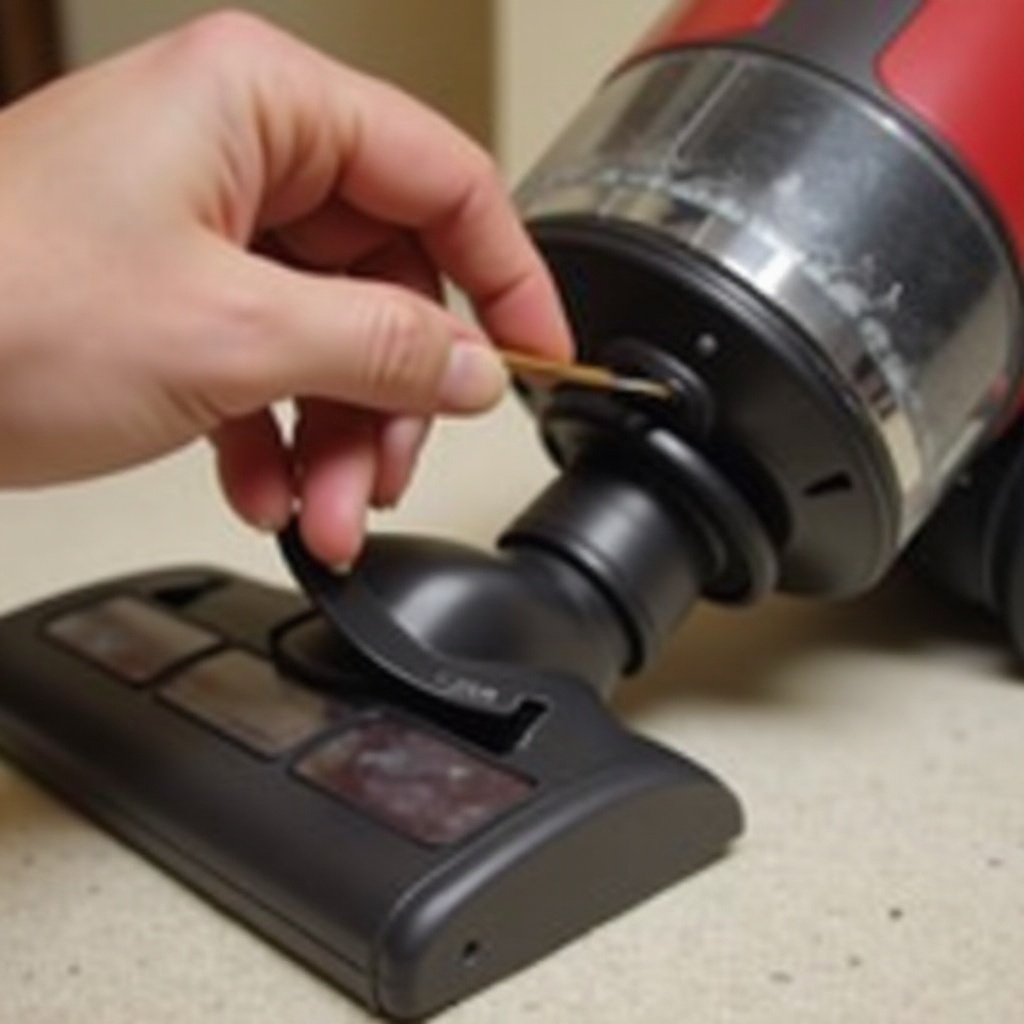
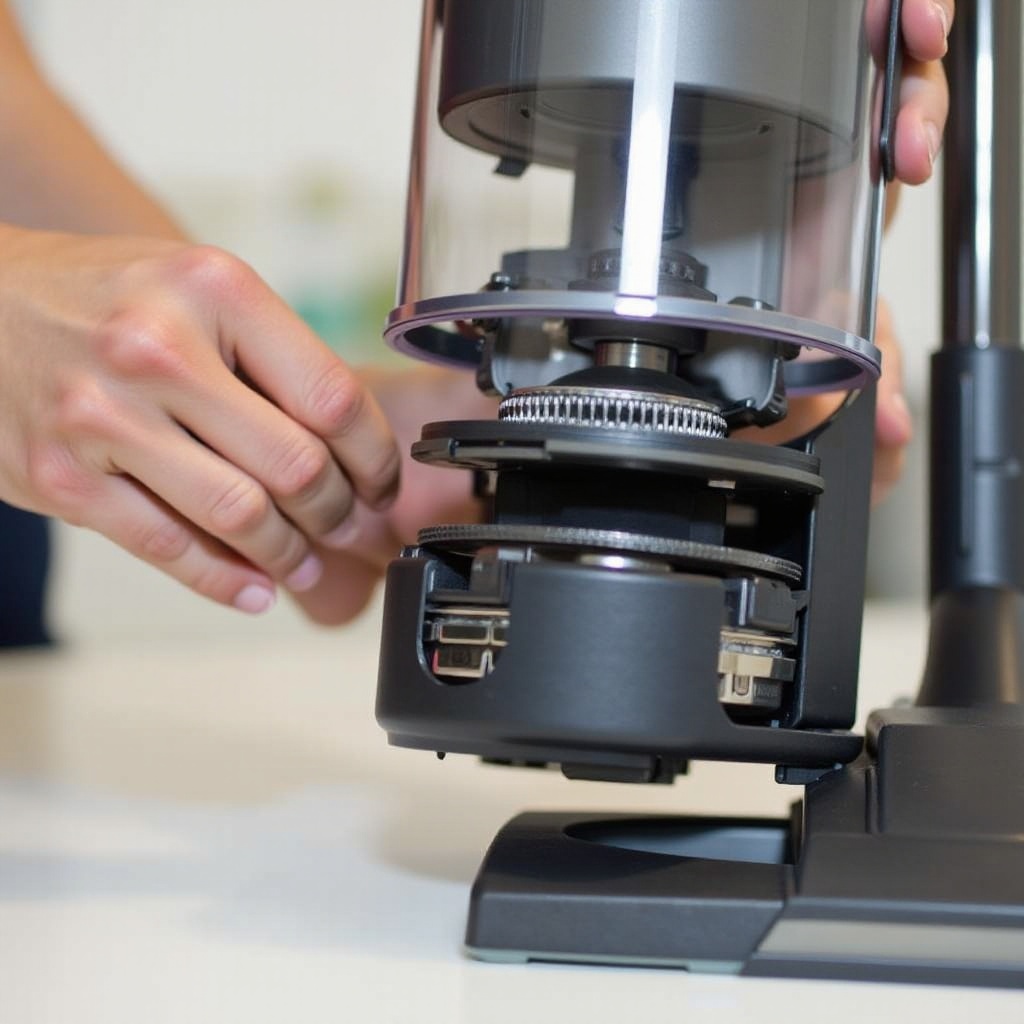
Unclogging the Brush Roll
The brush roll can collect hair, thread, and other debris, affecting its ability to rotate and clean effectively.
Removing the Brush Roll Cover
- Unscrew and remove the brush roll cover, following your vacuum’s manual instructions.
Cutting Tangled Hair and Debris
- Use scissors to cut away any hair or thread wrapped around the brush roll.
- Be sure to remove all bits of debris for optimal function.
Checking for Obstructions
- Spin the brush roll manually to ensure it moves freely.
- Check the pathway leading from the brush roll to the hose for any remaining blockages.
With the brush roll now clean and clear, the next step is to address the filters, which are crucial for optimal suction.
Unclogging the Filters
Filters trap fine dust and particles, preventing them from re-entering the air. Over time, they can become clogged and need cleaning or replacement.
Locating the Filters
- Identify and locate the filters in your vacuum cleaner. There are usually two types: pre-motor and post-motor filters.
Cleaning or Replacing Filters
- Follow the manufacturer’s instructions to clean the filters. Some filters are washable, while others need to be replaced.
- Ensure filters are completely dry before reinserting them if you washed them.
Importance of Regular Maintenance
- Regularly cleaning or replacing filters improves the vacuum’s efficiency and lifespan.
- Set a maintenance schedule to check and clean filters periodically.
With clean filters in place, your vacuum should be back to peak performance. It’s time to reassemble, test it, and ensure everything is functioning properly.
Reassembling and Testing
Once all parts are clean, carefully reassemble your vacuum cleaner.
Putting the Vacuum Back Together
- Reattach the hose, filters, and brush roll cover securely.
- Ensure all parts are correctly reconnected.
Testing the Suction
- Plug the vacuum cleaner back in and turn it on.
- Test the suction on different surfaces to ensure it’s operating correctly.
Final Tips for Preventing Future Clogs
- Regularly check and empty the dust bin or bag.
- Avoid vacuuming large debris that can block the hose or brushes.
- Maintain a routine of cleaning the vacuum components to prevent build-up.
Having successfully reassembled and tested your vacuum cleaner, you can now enjoy a properly functioning appliance. Let’s wrap up with a summary and some additional tips.
Conclusion
Efficient vacuuming requires a device free of clogs. This guide provides a clear pathway to identify and address any blockages:
– Recognize signs of reduced performance.
– Prepare with the right tools and safety measures.
– Thoroughly clean the hose, brush roll, and filters.
– Reassemble and test your vacuum.
Regular maintenance prevents future clogs, ensuring your vacuum remains efficient. For persistent issues or professional help, don’t hesitate to seek expert assistance.
Frequently Asked Questions
How often should I clean the filters in my vacuum cleaner?
Clean or replace vacuum filters every 3-6 months, depending on usage and manufacturer guidelines.
What should I do if my vacuum is still not working after unclogging it?
If you’ve removed all visible clogs but the vacuum still underperforms, it might be time to consult a professional technician.
Can using the wrong attachments cause my vacuum to clog?
Yes, using inappropriate attachments can lead to inefficiency and potentially clog your vacuum. Always use attachments recommended for your specific vacuum model.